Wainscoting Heights and Proportions: Getting It Right
By Nicholas Dunn · December 14, 2025 · 4 min read
TL;DR
Wainscoting is the most misproportioned trim element in residential construction. Too tall, too short, wrong style for the room — the rules are simple but constantly broken.
What "wainscoting" actually means
Wainscoting is paneling installed on the lower portion of an interior wall — historically as a protective surface, currently as a design feature. The term applies to several distinct styles:
- Raised panel wainscoting: Wood panels with a raised (or recessed) field, framed by stiles and rails. Most formal.
- Flat panel wainscoting: Plain flat panels framed by stiles and rails. Shaker-style and craftsman-style aesthetic.
- Beadboard: Tongue-and-groove vertical boards with a small bead. Casual, cottage, farmhouse.
- Board and batten: Vertical boards with battens covering the seams. Bold, simple, increasingly popular in modern farmhouse.
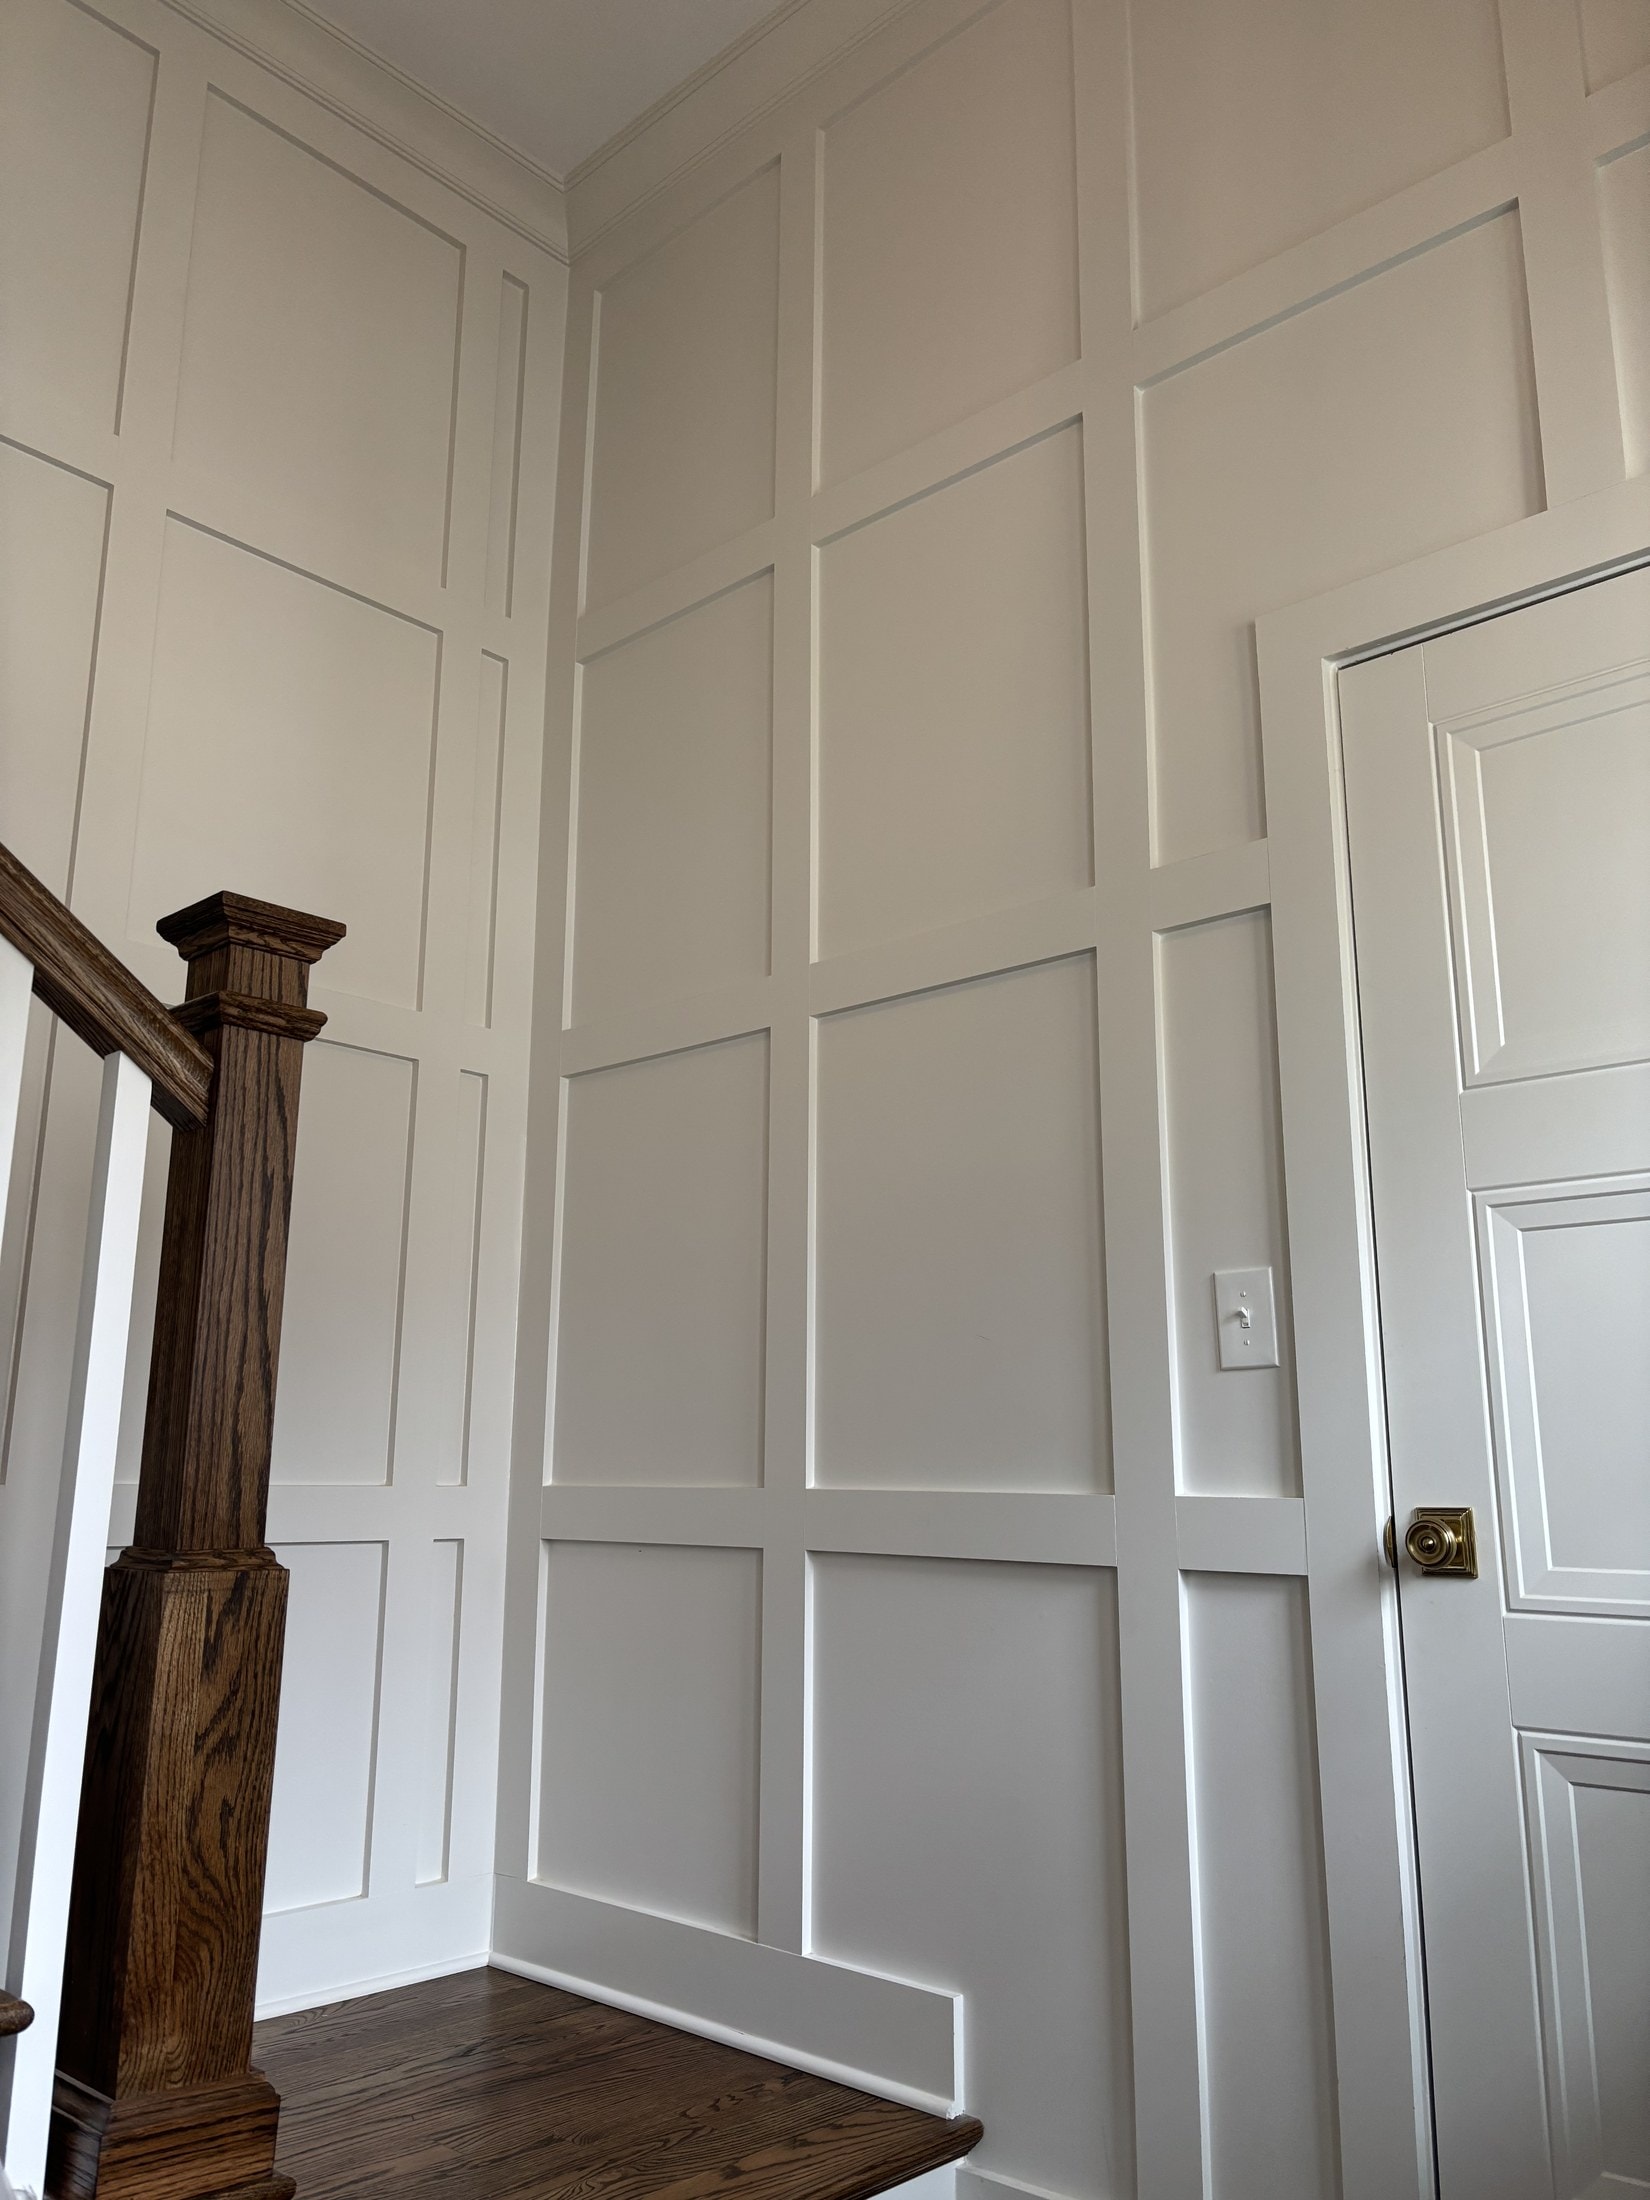
- Picture-frame wainscoting: Rectangles of trim applied directly to the wall, creating a panel effect without true paneling.
Each has different proportional rules and visual weight. Mixing them up — using formal raised panels in a casual cottage, for example — is a common error.
The height proportion rule
The proportional rule that classical designers use:
- 8-foot ceiling: wainscoting at 32-36 inches (1/3 to 3/8 ceiling height)
- 9-foot ceiling: wainscoting at 36-42 inches
- 10-foot ceiling: wainscoting at 40-48 inches
- 12-foot ceiling: wainscoting at 54-60 inches (or full-height "two-thirds" wainscoting)
For more formal applications — entry foyers, dining rooms, period-correct restorations — wainscoting can go higher, up to 2/3 ceiling height (typically 54-60 inches on a 9-foot ceiling). This is sometimes called "high wainscoting."
The biggest mistake: defaulting to 36 inches
The most common installation default is 36 inches — because that's "chair rail height." This default works fine on 8-foot ceilings. It looks dramatically wrong on 10-foot and taller ceilings, where 36 inches of wainscoting looks stunted and undersized.
A 10-foot ceiling with 36-inch wainscoting devotes 30% of wall height to paneling and 70% to wall. The proportions feel wrong because the upper wall dominates. Boost the wainscoting to 48 inches and the proportions shift to 40/60, which reads as intentional and balanced.
If you're a designer specifying wainscoting on tall ceilings, do not accept "36 inches" as the default from your contractor. Specify the height directly.
Style-specific rules
Raised panel wainscoting (formal)
The most traditional and most formal. Best in:
- Federal and Colonial style homes
- Formal dining rooms
- Entry foyers
- Libraries and studies
Heights: typically 1/3 to 2/3 ceiling height. Often capped with a stout chair rail or a deeper cap rail. Panel proportions: rectangles slightly taller than wide, typically 1.2:1 to 1.4:1.
Flat panel wainscoting (Shaker/Craftsman)
The most versatile. Works in:
- Craftsman bungalows
- Modern farmhouse
- Transitional design
- Bathrooms and laundry rooms
Heights: 1/3 ceiling height usually. Cap typically simpler than raised panel. Panel proportions: rectangular, often closer to square.
Beadboard
The most casual. Works in:
- Cottage and coastal interiors
- Children's rooms, mudrooms
- Powder rooms
- Wainscot below tile in bathrooms
Heights: 30-42 inches typically. Looks wrong above 48 inches in most applications.
Board and batten
The current darling of modern farmhouse. Works in:
- Modern farmhouse interiors
- Entryways and mudrooms
- Dining rooms with high ceilings
Heights: variable — sometimes 36 inches, sometimes 60+ inches "high wainscot." The batten spacing should be even and intentional, typically 12-18 inches on center.
Picture-frame wainscoting
The fastest to install and the most likely to look wrong. Works in:
- Tight budgets
- Renovations where true paneling is impractical
- Spaces where the design only needs the visual effect of wainscoting
Heights: same as other wainscoting types. The challenge is rectangle proportion — too many small rectangles look fussy, too few large ones look empty. Aim for 18-24 inch wide panels with 1.2:1 to 1.5:1 height-to-width ratio.
The cap (chair rail or top rail)
The cap is the horizontal molding that finishes the top of the wainscoting. Its size should be proportional to the wainscoting height:
- 32-36 inch wainscot: 1.5-2 inch cap
- 40-48 inch wainscot: 2-3 inch cap
- 54+ inch wainscot: 3-4 inch cap
The cap should also have enough depth to project from the wall — typically 3/4 to 1 inch — so it casts a visible shadow line and reads as architectural rather than as a decorative addition.
Bottom line
Wainscoting is one of the trim elements most worth getting right. When the proportions are correct, the room reads as intentionally designed. When the proportions are wrong, the wainscoting looks like an afterthought — and the rest of the room's design fights with it.
If you're specifying wainscoting for a project and want to get the proportions and detailing right before installation begins, the Trim Specification Package includes wainscot detailing as a standard deliverable.
About the Author
Nicholas Dunn is a finish carpenter and the founder of Dunn Trim Co., with the better part of a decade at the saw. He helps homeowners, designers, architects, contractors, and trim companies get finish carpentry right. More about Nicholas →